STEP 1
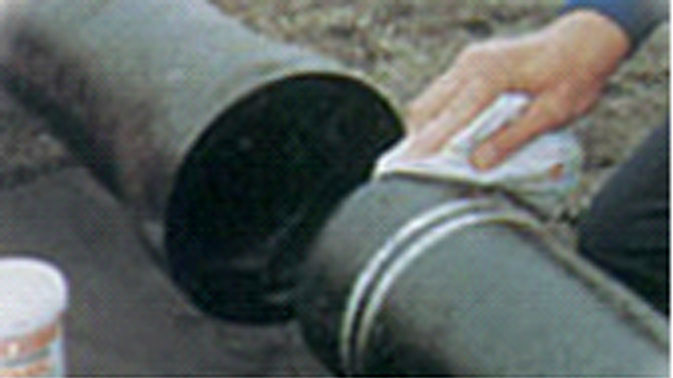
Thoroughly clean the bell with special attention to the gasket recess. Remove any foreign material or excess paint. Clean the spigot or bevelled plain end and remove any sharp edges with a standard file.
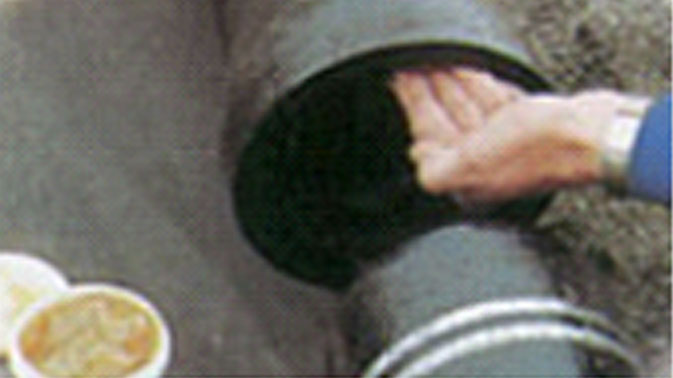
STEP 2

After making sure that the correct gasket is being used, insert it into the recess in the bell with the small end of the gasket facing the bell face. Ensure that the gasket fits properly.
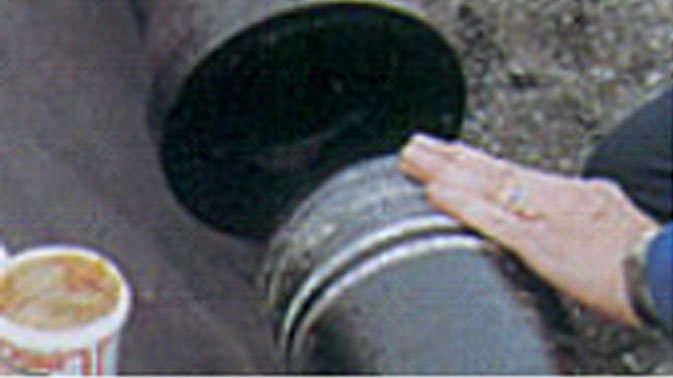
STEP 3A, 3B
Apply lubricant to the inside surface only of the gasket, making sure that the entire surface is coated. Apply a generous coating of lubricant to the beveled portion of the plain end.
STEP 4
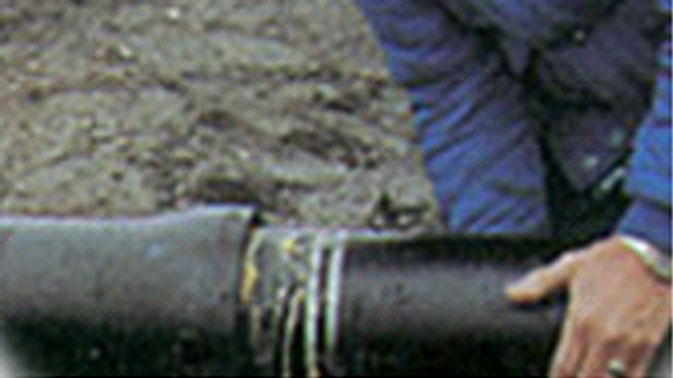
Guide the plain end into the bell and while maintaining a straight alignment, push the plain end into the bell socket. Once the joint is assembled, necessary deflection can be accomplished. When assembly is complete, the bell face should be aligned between the two white depth rings.
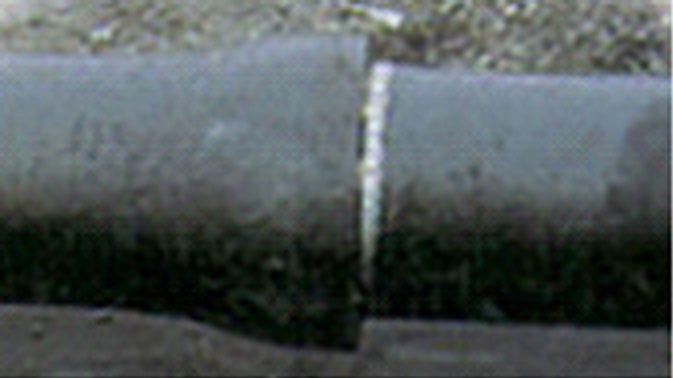
COMPLETED INSTALLATION
Small pipe can be assembled with the use of a long bar, while larger pipe will require additional power, such as a jack or come-along. A backhoe may be used to assemble pipes of intermediate and large sizes. The plain end of the pipe should be carefully guided by hand into the bell of the previously assembled pipe. The bucket of the backhoe may then be used to push the pipe until fully seated. A timber header should be used between the pipe and backhoe bucket to avoid damage to the pipe.